


Framework Laptop 13 AMD Ryzen™ AI 300 Series — BIOS 3.04
Downloads
Section titled “Downloads”- AMD PI updated to 1.1.0.0c
- PD firmware updated to 0.0.E
- Battery charge limiting status implemented
- F2 hotkey now enters the BIOS setup menu from the boot manager
- Fixed Power button LED auto-dimming
- Fixed keyboard backlight issue with auto-dimming
- Fixed charging issue with Anker GaNPrime 65W adapter
- Fixed the battery extender setting overriding the battery charge limit on boot
- Fixed battery charging limit being reset by the battery extender reset timer
- Removed unimplemented FN+S key combination
- Security fix: CVE-2025-4275 — Certificate replacement allows launching arbitrary EFI files on any Insyde BIOS (CVSS 7.8)
- Security fix: CVE-2024-49200 — DXE memory corruption in AcpiS3SaveDxe/ChipsetSvcDxe in Insyde InsydeH2O kernel 5.2–5.7 (CVSS 6.4)
- Security fix: CVE-2024-36347 — AMD microcode signature verification vulnerability (CVSS 6.4)
Component Versions
Section titled “ Component Versions ”This BIOS update is a bundle of updates to multiple embedded components in the system. Not all of them use the same version number.
| Component | Version | |
|---|---|---|
| EC | ec_304_de3833d | Updated |
| PD | 0.0.E | Updated |
| AMD PI | 1.1.0.0c | Updated |
Windows Driver Component Versions
Section titled “ Windows Driver Component Versions ”| Driver | Version | |
|---|---|---|
| AMD Chipset Driver | 7.06.16.044 | Updated |
| AMD Graphics Driver | 24.30.62 | Updated |
| Realtek Audio Driver | 6.0.9738.1 | |
| Realtek Audio Console | 1.51.349.0 | |
| RZ717 WiFi Driver | 5.5.0.3366 | |
| RZ717 Bluetooth Driver | 1.1042.0.505 | |
| Goodix Fingerprint Driver | 3.12804.0.270 | |
| AMD DRTM Driver | 1.0.18.4 | |
| Framework 2nd Gem Camera Driver | 10.0.22000.20357 | |
| Realtek MEP Opt-in Driver | 10.22000.10003 | |
| AMD MEP Extension Driver | 32.2.0.0 | |
| Microsoft MEP Driver | 2.0.11 | |
| Framework EC | 0.0.0.6 | |
| Realtek Ethernet (Expansion Card) | 11013_20_07272023_08042023 | |
| SD Card Reader (Expansion Card) | v4_5_10_201 | |
| 2nd Gen uSD Card Reader (Expansion Card) | v4_5_10_202 |
Installation
Section titled “Installation”Battery Extender Functionality
Section titled “Battery Extender Functionality”With the high energy density on the 61Wh battery, leaving it at 100% state of charge for an extended period of time can shorten the lifetime of the battery. To prevent this, we have added a new feature that automatically limits the maximum state of charge if the system is left plugged into power for more than 5 days. The timer is reset after the system is disconnected from a power adapter for more than 30 minutes.
| Battery Extender Duration | Battery State of Charge |
|---|---|
| 0-5< Days | 99% → 100% |
| 5-7 Days | 90% → 95% |
| >7+ Days | 85% → 87% |
This functionality also reduces cycling of the battery by allowing the battery to discharge by several percent before charging again. Note that in addition to this automatic setting, you can also manually set a lower charge limit on your battery in BIOS to further preserve battery longevity.
This feature can be disabled or enabled in the BIOS Advanced menu.
- Battery Extender: This option is enabled by default. If disabled, the system will always keep the battery fully charged.
- Battery Extender Trigger: This option sets the number of days that must pass before the battery state of charge is reduced automatically to extend the battery life.
- Battery Extender Reset: This option sets the number of minutes that the system is running on battery before the extender is reset, causing the system to charge to 100% when attached to power again.
Battery Charge Limit Functionality
Section titled “Battery Charge Limit Functionality”This release modifies the battery charge limit functionality to add a 5% float range. This allows us to reduce the number of microcycles on the battery when the CPU turbos.
Previously, the battery would be held at the target state of charge, so if a large power draw happened for a short time, such as when the CPU turbos, the battery would drain slightly and then charge again. Introduced in this version, the battery will not start to charge until the battery has dropped 5% below the charge limit.
As an example, if the user sets the battery charge limit to 80%, the battery will maintain a state of charge between 80% and 75%. And will not charge up to 80% until it has discharged to 75% while the system is on.
If this is activated while the battery state of charge is above the limit, the battery will discharge without drawing power from the adapter until the upper limit is reached.
You can check your current BIOS version following the steps here to determine if you are on the latest release.
Framework firmware is published to LVFS and updates via fwupd, which ships by default on most modern
distributions.
fwupdmgr refresh --forcefwupdmgr get-updatesfwupdmgr updateWindows
Section titled “Windows”- Download the Framework Laptop 13 AMD Ryzen™ AI 300 Series BIOS 3.04 Windows Installer.
- Run the
.exeand click "Yes" when prompted to reboot. - Wait for the firmware progress bar to complete — the system will reboot automatically. Do not interrupt.
- Download and install the Windows Driver Bundle v1.03 for your system if you are currently using a previous Driver Bundle release, or you are installing the Driver Bundle for the first time.
EFI Shell Update
Section titled “ EFI Shell Update ”- Download the EFI Shell Update v3.04.
- Extract contents of zip folder to a FAT32 formatted USB drive. Cleanly unmount the drive before physically removing it, otherwise the BIOS update may not function correctly.
- Attach a charger to your device while updating.
- Boot your system while pressing F12 and boot from the thumb drive.
- Let startup.nsh run automatically.
- Follow the instructions to install the update.
Updating a Mainboard without a Laptop
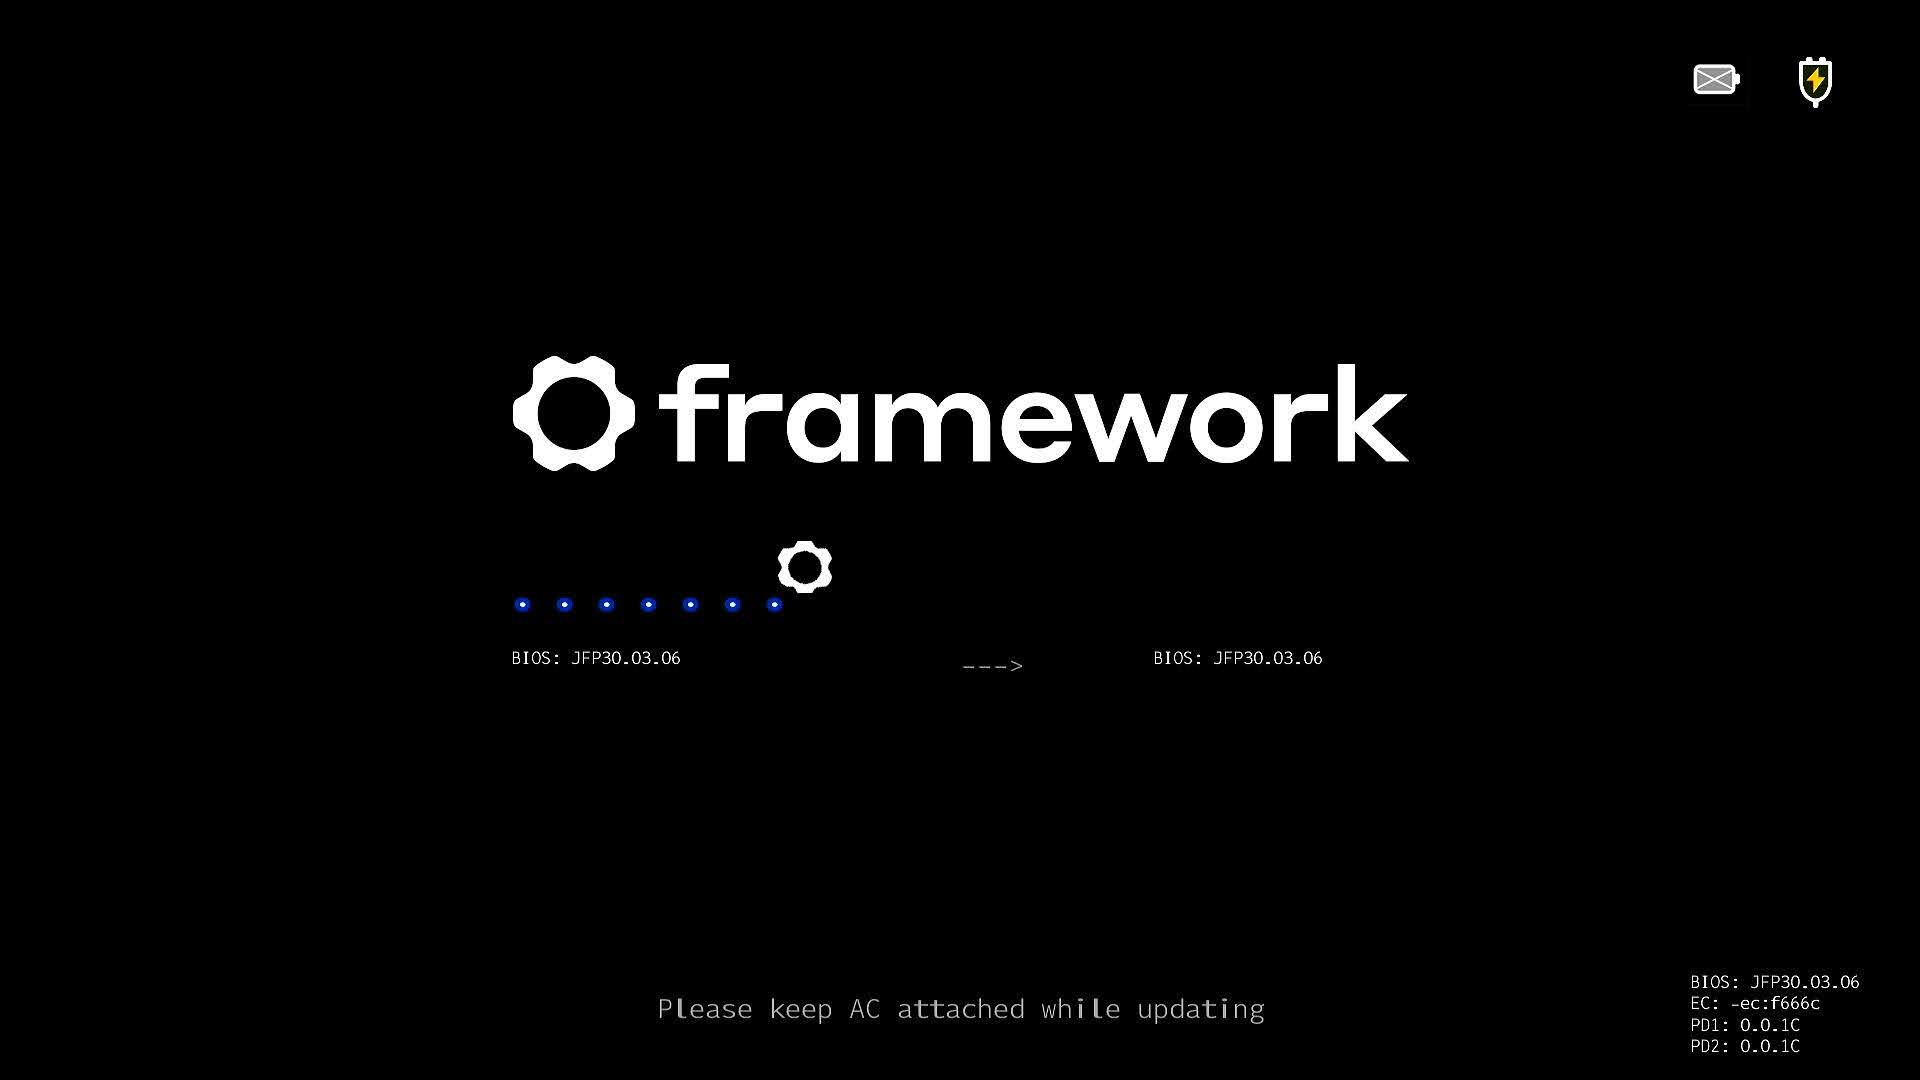
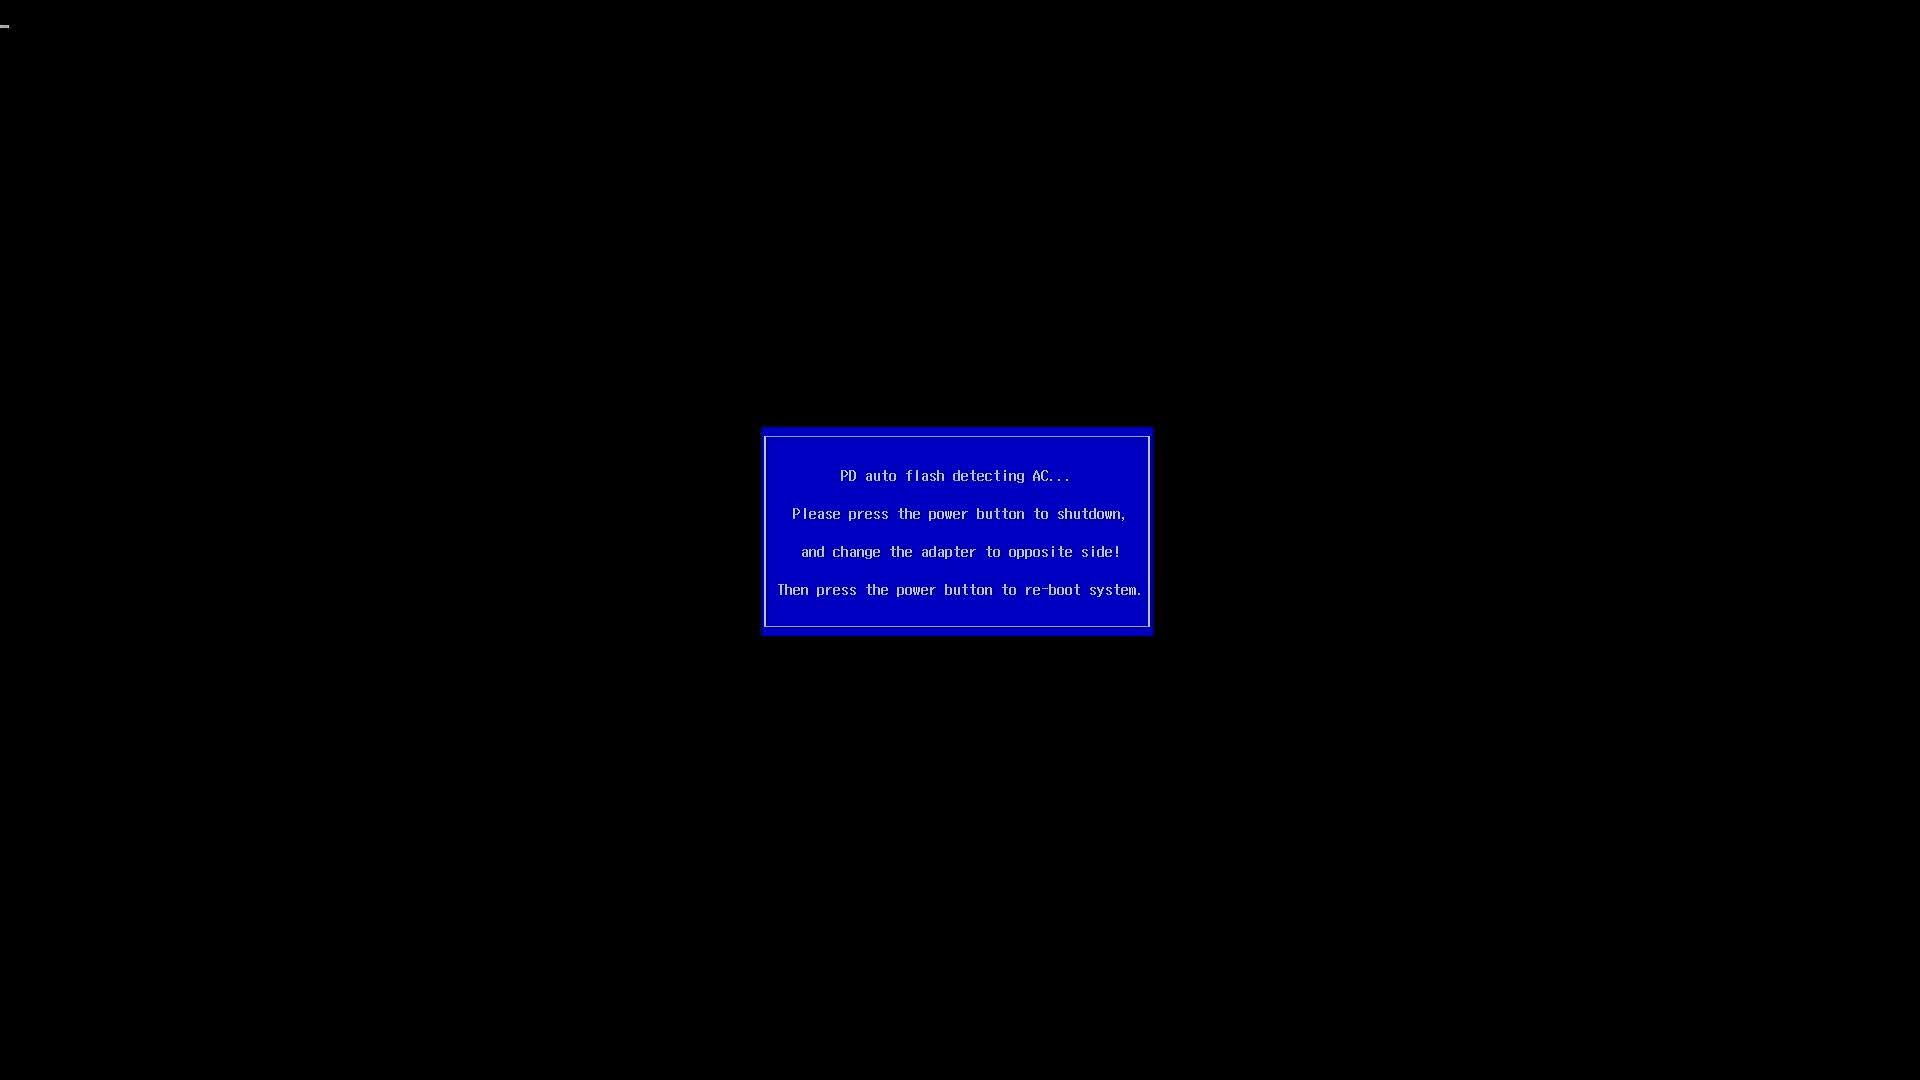
Section titled “Updating a Mainboard without a Laptop”This release supports standalone updates without a battery attached. After rebooting, please follow the onscreen instructions to update your BIOS when in standalone mode, which will require moving the power source between both sides of the Mainboard to allow PD firmware to update correctly.
- Ensure that standalone operation is enabled in the BIOS advanced setup menu.
- Connect the external display to upper left port.
- Connect the power to the lower left port.
- Run the updater from EFI/Windows updater.
- After rebooting into the updater, the update will commence. The updater will update the BIOS and EC.
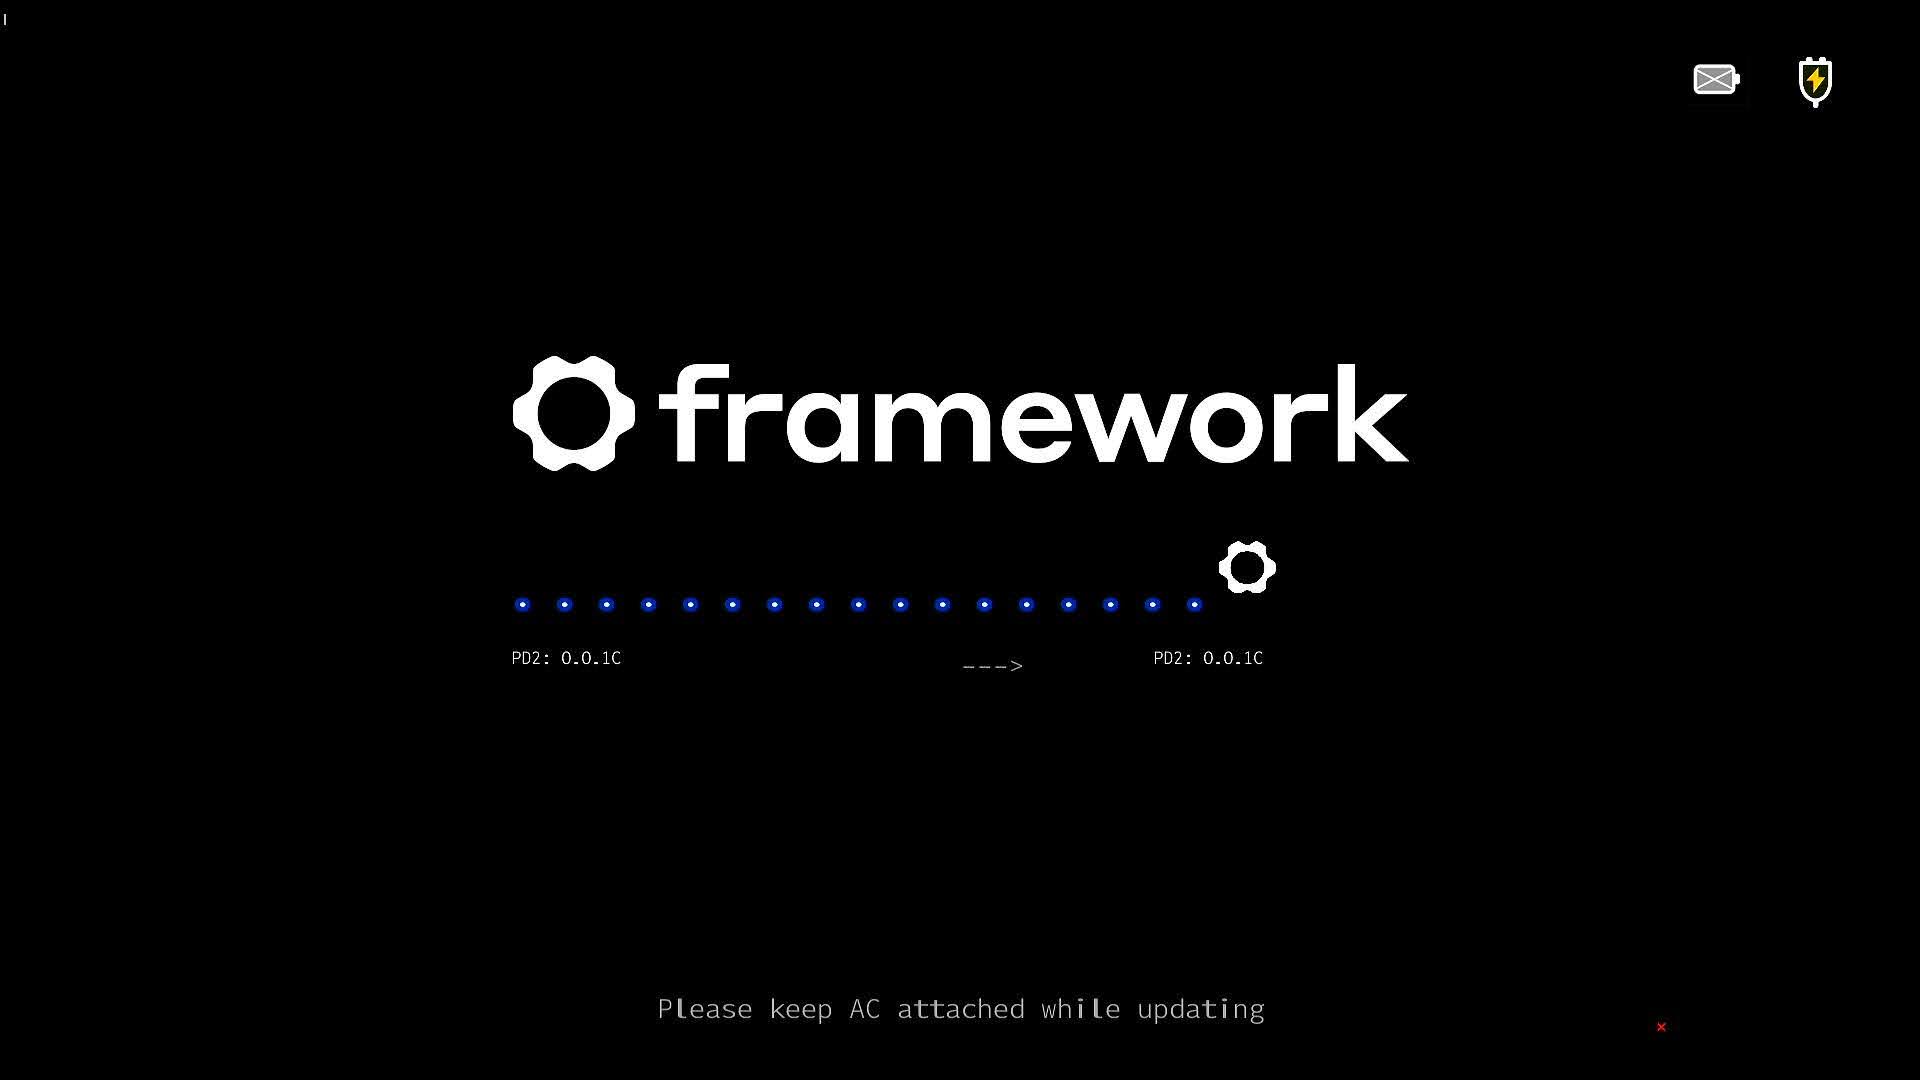
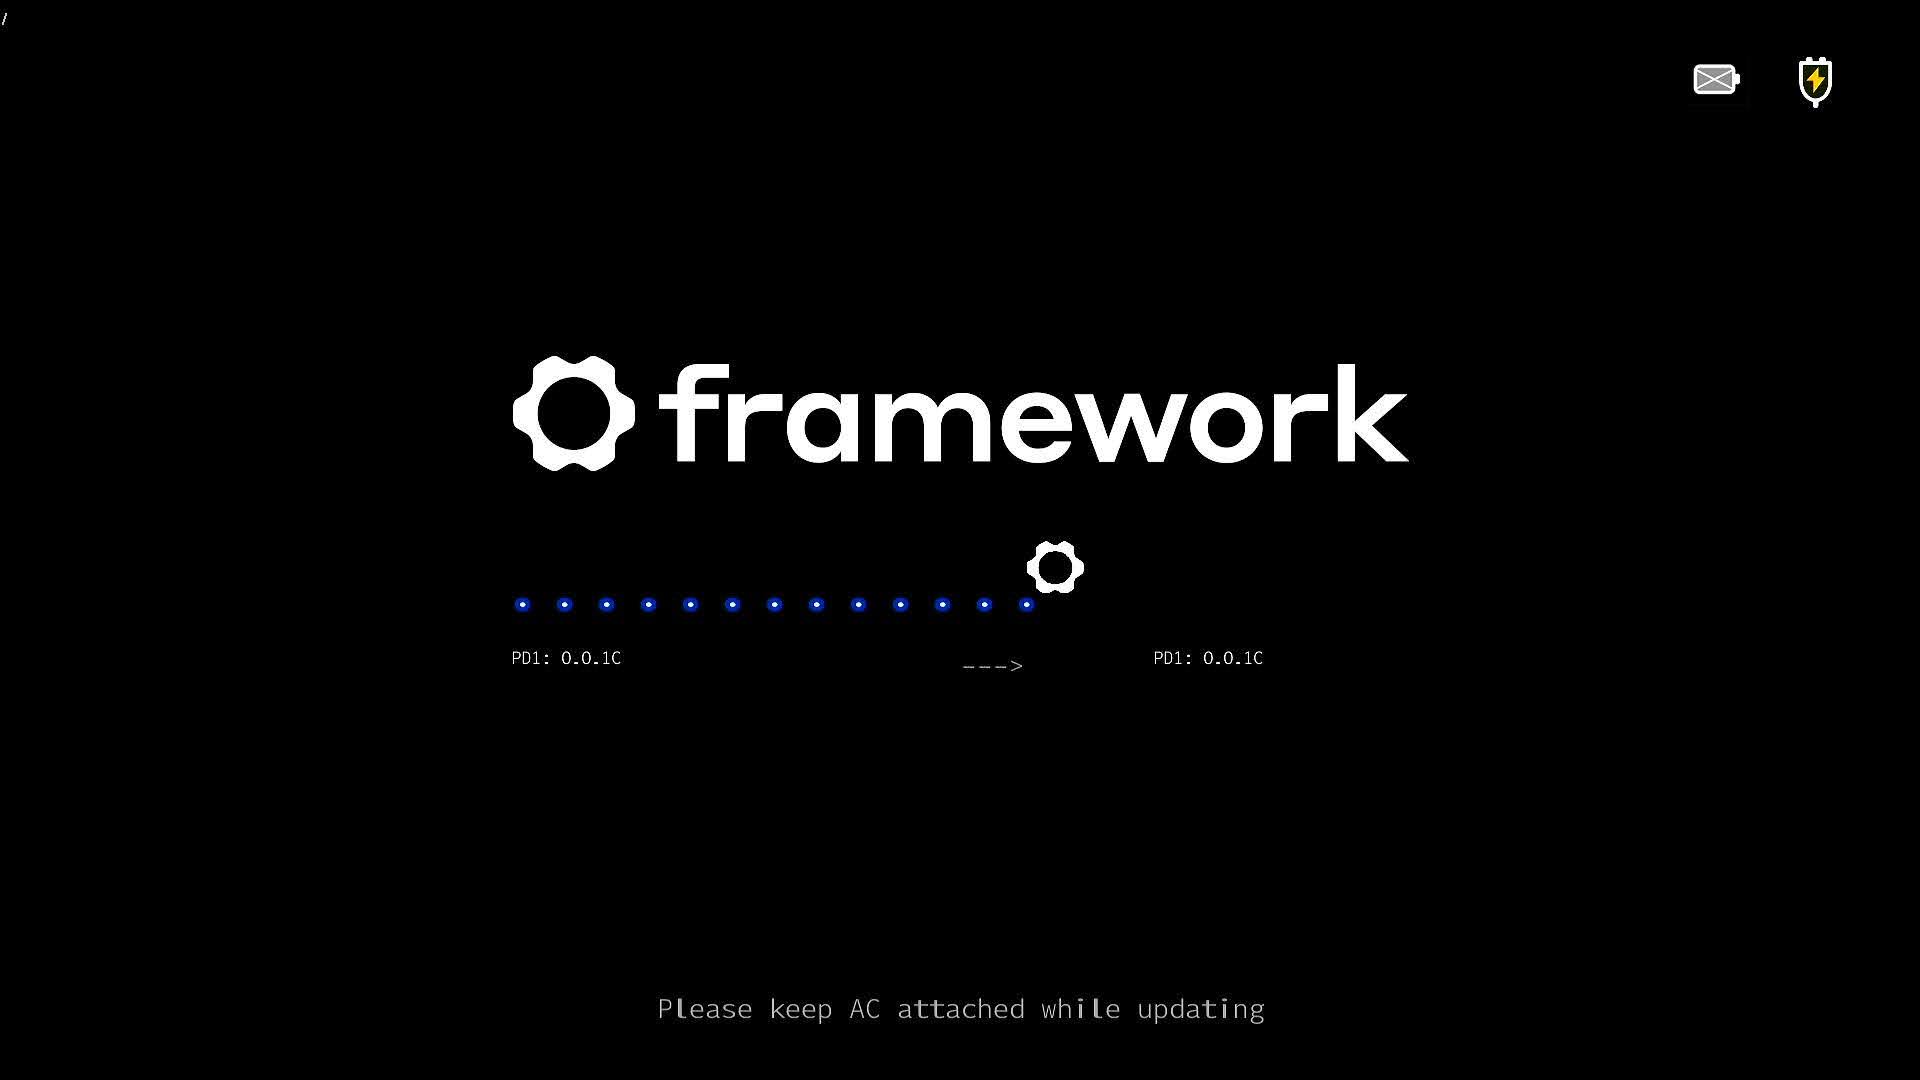
- The Updater will update the PD controller that is not connected to the power source.
- You will see one PD controller will fail the update with the X, and "Update Complete" is displayed, but the BIOS will restart. At this screen, the BIOS update will stop. You must disconnect the display and power source, and move them to the other side. * Connect the display to the top right port. * Connect power to the bottom right port.
- Press the power button, and the second PD update will complete.
- After this, the system will reboot, and your BIOS update is complete.
Known Issues
Section titled “ Known Issues ”- Setting TPM to hidden may cause systems with WD PC SN740 SSDs to get stuck in automatic repair during boot.
Reporting Issues
Section titled “Reporting Issues”Please use the public issue tracker on GitHub to report issues.
If you experience an issue with the update that is related to your system firmware, please post as complete a description as you can, including relevant system information and external peripherals. Please note that we do not currently have a SLA for responding to issues on github, but we will be reviewing them through the bios release process, and will review them for future updates as well.
Please contact support if you have an issue regarding hardware, broken devices, returns, etc.